Brudbukett av gamla kartböcker - Wedding Bouquet of Old Maps
Mitt bröllop - My wedding
/
Blombukett,
Bordsdekoration,
Brudbukett,
Bröllop,
Corsage,
DIY,
Decoration,
Gör-det-själv,
Kartor,
Kusudama,
Maps,
Pappersblommor,
Table decoration,
Wedding,
Wedding bouquet
/
Permalink /
0
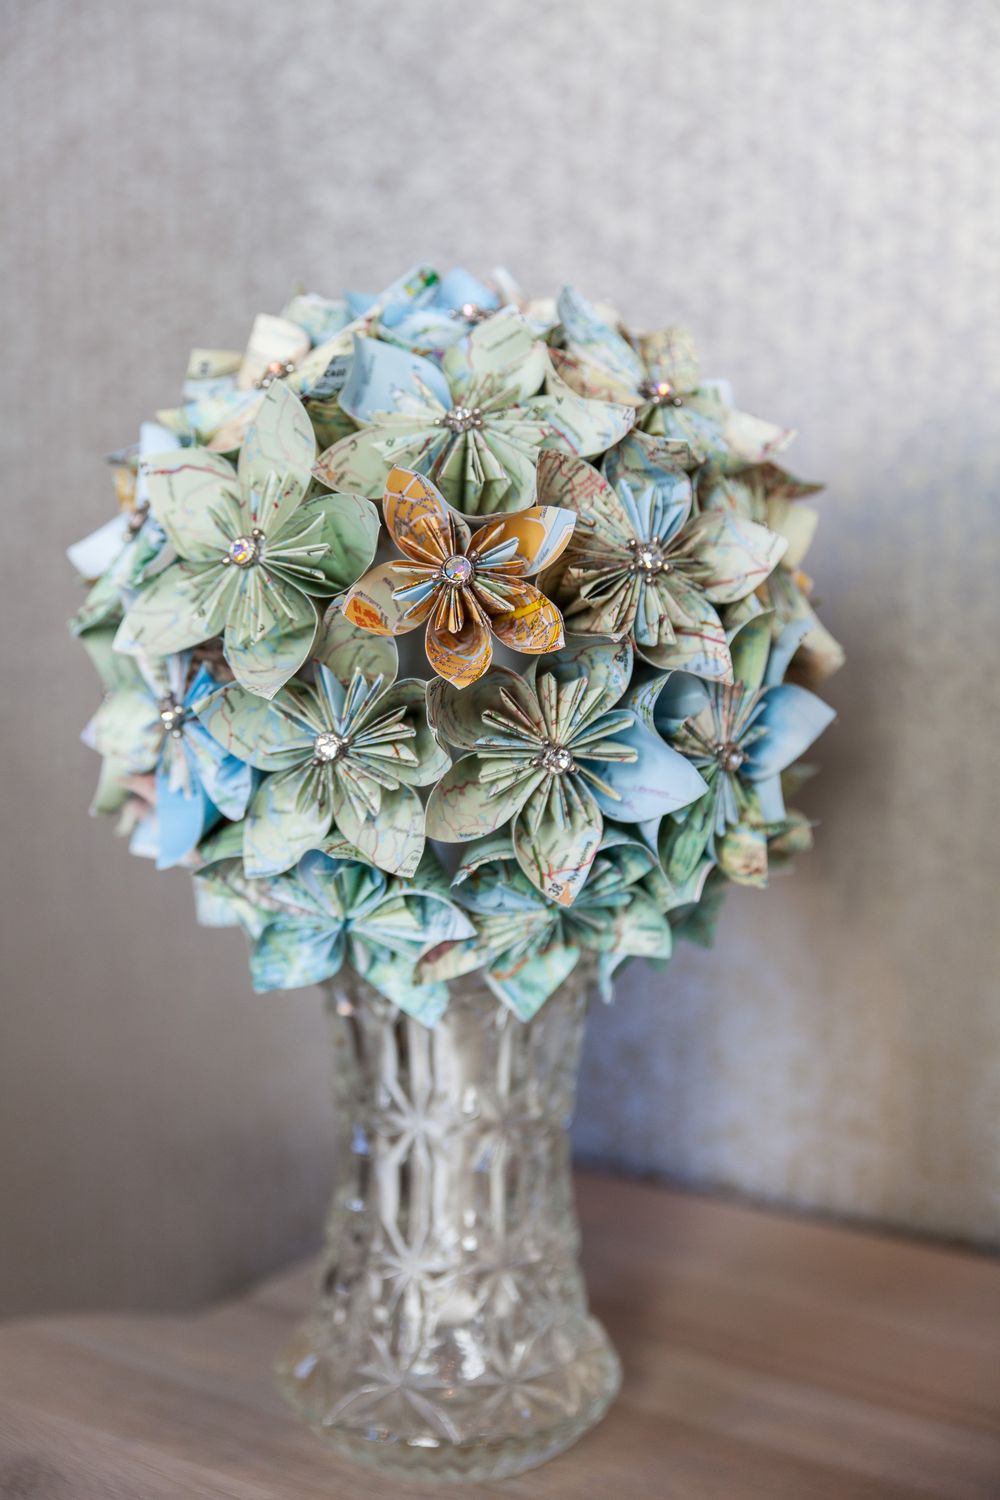
Foto: Laura Dovi
Min brudbukett kommer aldrig att vissna! My wedding bouquet will never wilt!
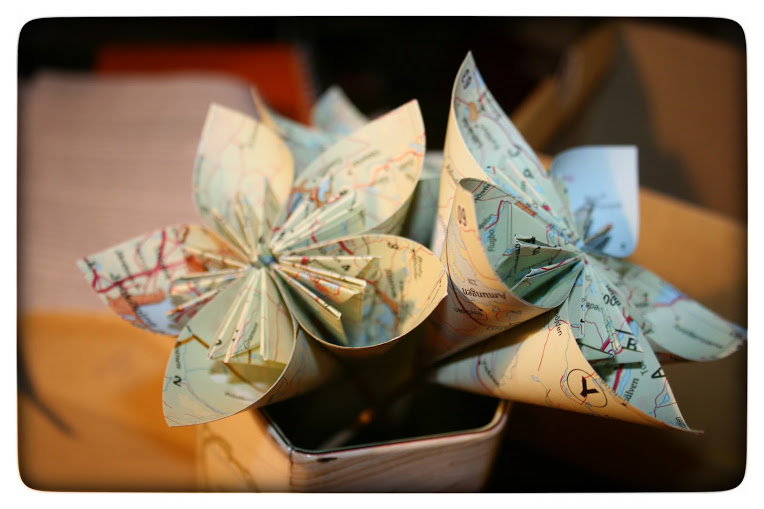
Att jag skulle göra min egen brudklänning och brudbukett var självklart. Då min man och jag kommer från olika delar av europa, Sverige och England, tyckte vi att det skulle vara roligt med ett bröllopstema som speglade det. MEn istället för att välja temafärger till bröllopet valde vi att använda gamla kartor. Så efter att jag inköpt ett antal gamla kartböcker och atlas från returmarknaden hade jag tillräkligt med material att börja jobba!
Brudbuketten, brudgummens och näbbens corsage och dekorationer på borden bestod alla av blommor vikta från blad dessa kartböcker (även vår bröllopsinbjudan var av karta). Blomman återkom också bordet vid ceremonin och kan ses i inlägget om Bokstäver i papp. Hur man viker dessa Kusudama blommor hittar du på många ställen online, men Upstairs circus tycker jag visar en tydlig beskrivning på hur man gör dessa fina blommor.
It was allways clear to me that i wanted to create my own wedding dress as well as my wedding bouquet. As I and my hubby-to-be are from different countries, Sweden and the UK, we wanted to a wedding theme pictureing that. So, instead of choosing a colour theme we desided to link decoratins, invitations etc. with the use old maps. I bought tons (!) of old maps and Atlases at the local thrive market for nothing (poor old books - put in the shades of all modern GPS's!!). Exept the bouquet I also made the corsages for the groom and altar boy, cuffflinks, and earrings for my maid of honor and my flower girl as a gift.
The style of flowers used in the wedding bouqet are the so called Kusudama flower. You will find a very nice tutorial here.
The style of flowers used in the wedding bouqet are the so called Kusudama flower. You will find a very nice tutorial here.
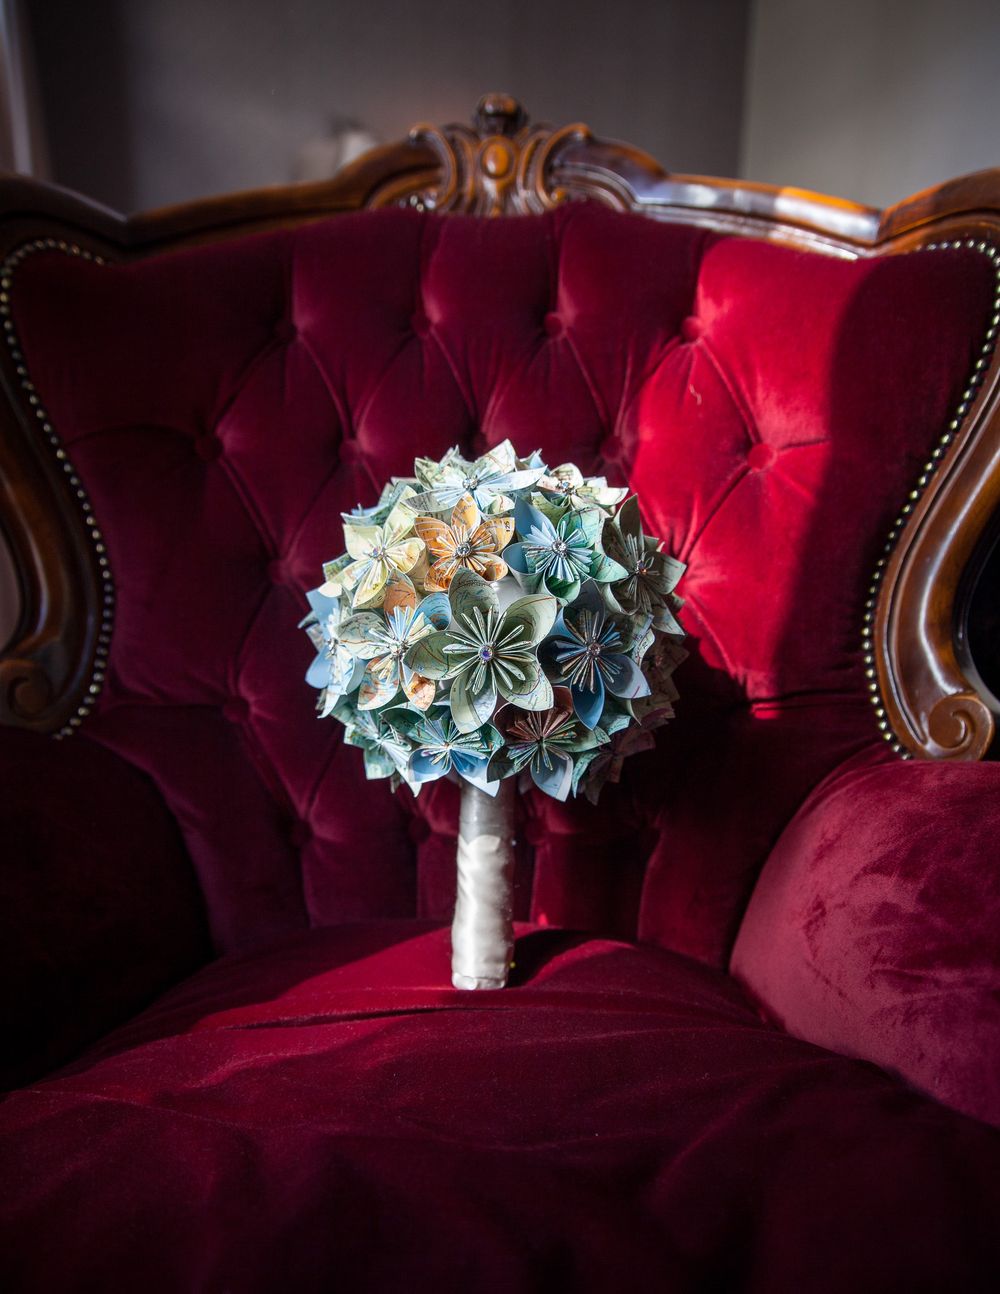
Foto:Laura Dovi
Bukettens skaft klädde jag med bordsvadd och sedan lindade jag en remsa av tyget som användes i min underklänningen till brudklänningen.
The shaft of the bouqet was frist covered with a piece of felt - table cloth liner - before covering it with the same fabric as the underdress for my wedding dress, and this was the last step making the bouqet. Here are some pictures of the creative process.
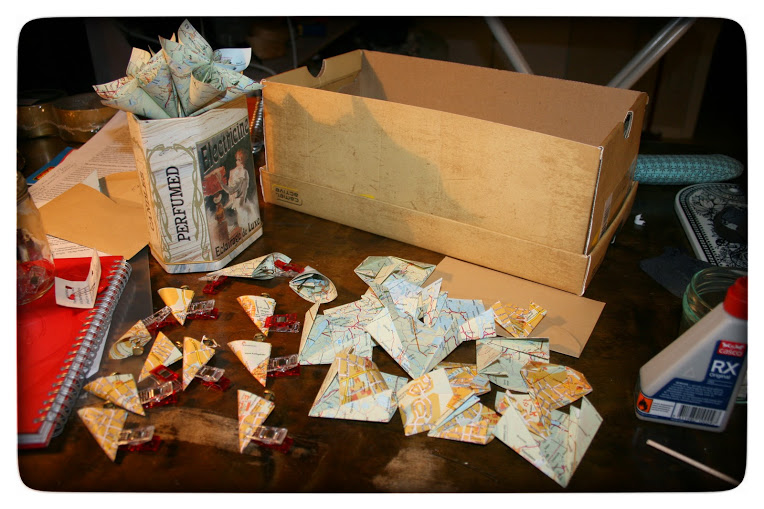 Vikning i full gång! Work in progress - folded petals!
Varje blomma kräver fem blomblad och ett blomblad består av tio vikningar. Jag använde mig av lädernypor (som man använder när man syr i läder istället för knappnålar) för att nypa till bladen då de torkade.
Each flower require five petals and one petal consists of ten foldings. I used my leather pinchers to pinch the peases together for drying.
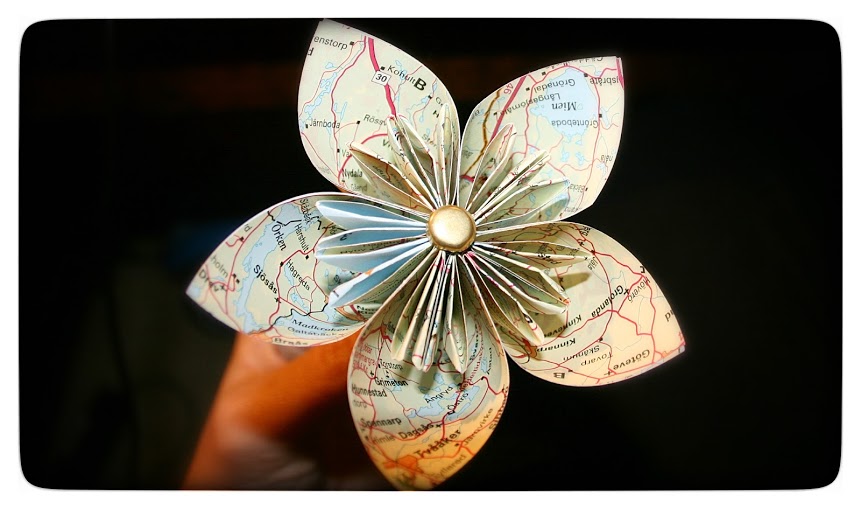
Blomma klar. One flower done!
Innan sista bladet limmas ihop med de övriga limmar man dit en blompinne. Grillpinnar fungerar perfekt. Storleken på blomman och längde på pinnen avgör hur vid buketten blir. Mina blommor viktes av rutor om 6x6cm. Pinnen var ca 12 cm. Brudbuketten besår av 45 blommor dvs. 225 blomblad eller mer exakt 2250 vikningar! Den tog ett par veckor att göra med andra ord. Men det var det värt!
Before glueing the petals together they where mounted on a BBQ stick. The lenght on the stick plus the hight of your flower plus the with of the foam ball will add up to the total whith of your wedding bouquet. My flower petals were folded from a paper square meassuring 6x6 cm (2,3x2,3 in). The stick was approx. 12 cm. The bouquet consists of 45 flowers made out of 225 petals - or more precisely put - of 2225 foldings! It took weeks to make the bouquet but it was all worth it! It is a gem!
Blommor på torkning - Flowers on dry
För att montera buketten behövs en frigolitboll, min är i storlek 15cm, köpt på Konstnärsshoppen och finns på pysselbutiker. Börja med att teipa ihop ett antal blom/grillpinnar som blir ditt "skaft". Tjockleken byggde jag på med bordsvadd och sedan samma tyg som min underklänning. Längden på skaftet på min bukett är ca 30cm. En del som limmas in i bollen och sedan "försvinner" en del då blommorn sticks fast. Jag började med limma fast blommorna uppifrån, runt och ner.
The foam ball was 15 cm (6 in). I made the handle first by teiping together a couple of sticks and glueing them before pressing them into the ball. That worked as the base for the handle on to which i fastened some fabric on later. The length on the handle was approx 30 cm (12 in) but almost half of it disapeared in to the ball as well as is covered by the flowers. I started to mount the flowers by glueing them in place in a top-down circle.
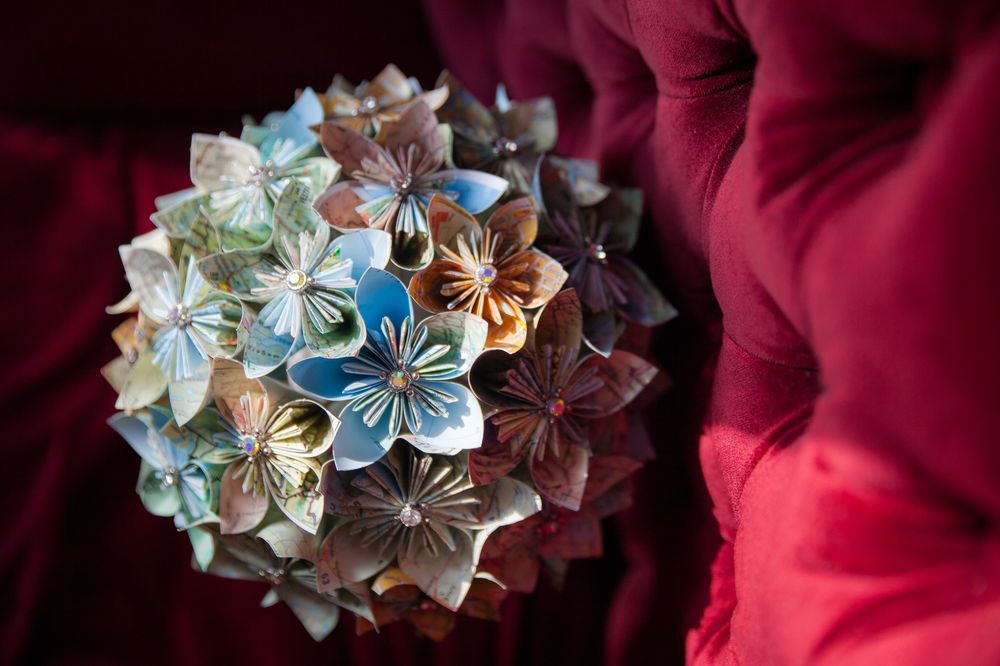
Brudbuketten klar! The finished wedding bouquet! Foto: Laura Dovi
På varje blomma limmade jag fast stenar från ett trasigt gammalt armband jag hade liggande i en låda. Det gav ett fint glimmer till min bukett! Effekten blev bättre än väntat och den riktigt glittrade i solskenet!
On each flower i glued a piece of stone from a broken bracelet I've had in my drawer for years. It gave the bouquet a nice glimmer and the effect got it sparceling in the sunshine!
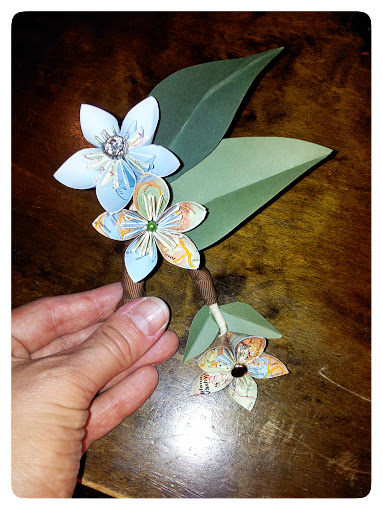
Corsage till brudgum och näbb - The corsages for the boys
Blommor till arrangemangen på borden -
A flower as well for the table decorations
A flower as well for the table decorations
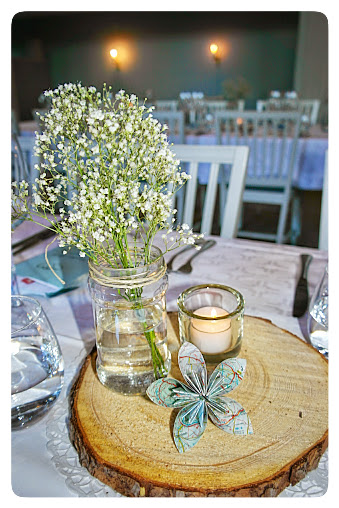
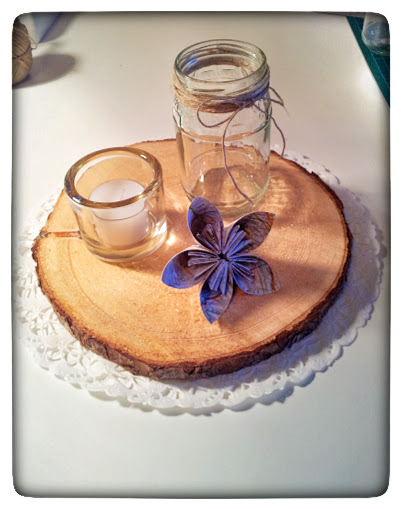
Bordsarrangemang - The table decoration for the wedding reception
Borden var enbard pyntade med dessa stileben. Plattorna från tall gjorde min far av trädet som blåst omkull på deras mark. 5-kronors lyktor från Mio och gamla syltburkar med hampasnöre. Pappersblomma och en kvist brudslöja.
The tables for the reception after the ceremony were also decotated with these flowers. My father made 16 wooden plates for us from a fallen pine three that a spring storm took down in their garden just weeks before the wedding! A jam jar and candle finished the ensamble. =)